The Stamp-a-ma-jig is a wonderful tool to help you with perfectly aligned stamped images. The are several uses for the stamp-a-ma-jig including perfect placement on a project and perfect placement for two step stamping. This tutorial shows you how to use the Stamp-a-ma-jig to two step stamp a peony from Stampin' Up!'s Pretty Peony.
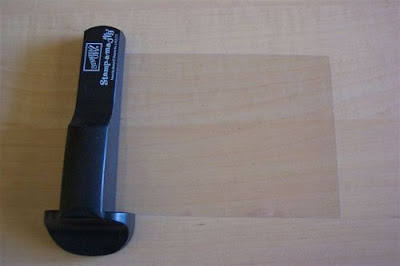
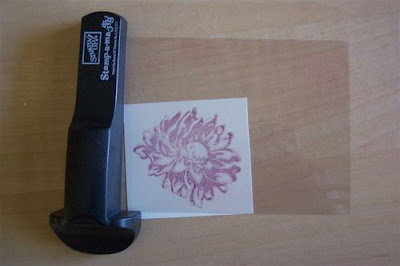
1. Lay your Stamp-a-ma-jig (SAMJ) down and slide an imaging sheet into the corner of the SAMJ.
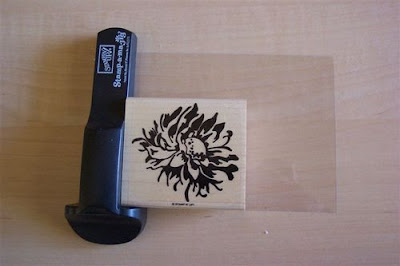
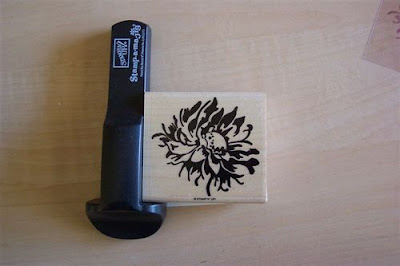
2. Ink the detailed stamp with the darker color. Hold down the SAMJ and stamp the imaging sheet, butting the stamp into the corner of the SAMJ.
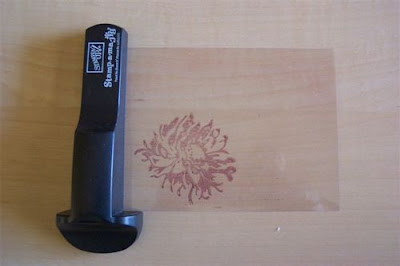
3. Carefully raise stamp. You dark detail image is now on the imaging sheet.
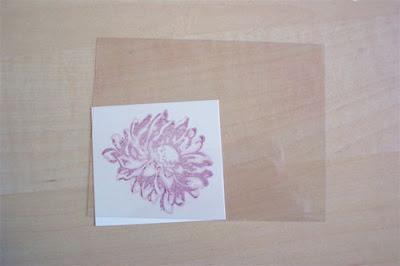
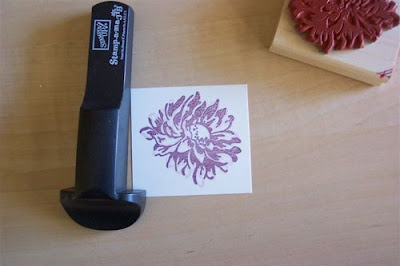
4. Stamp your bold image with a lighter color on your cardstock. Take the stamped image sheet and place it over the lighter image. Align it to where the detail stamp will lay.
5. Carefully reposition the SAMJ to the corner of the imaging sheet. Take care not to move the image sheet.
6. Hold the SAMJ in place and carefully lift the imaging sheet from the cardstock. Ink up the detail stamp with a darker color and butt it against the corner of the SAMJ. Firmly stamp onto the cardstock.
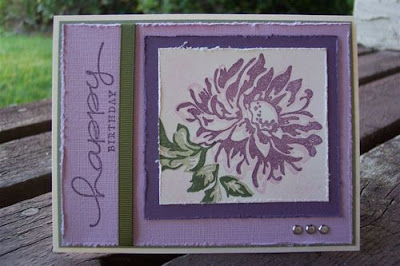
7. Remove the stamp and now you have a perfectly stamped flower with details.
8. Finish your project as desired.
Bonus tip: Have you run out of imaging sheets? Use overhead projector transparencies! The imaging sheet used in this tutorial is actually a one quarter sized sheet of an overhead projector transparency.
No comments:
Post a Comment